Filter Workflow for Landscape Photographers

The camera is locked into position on top of your tripod. You’ve fired a few test exposures and you’re happy with the composition. Now it’s time to make those little tweaks that are going to make a huge difference in your final image. It’s go time. Those little tweaks are called “filters”, so let's walk you through the process of fine tuning your final image.
For how-to use the holder system, click here.
Think in terms of Workflow
Other holder systems force you to cram filters into the holder system and don't allow for individual adjustment of the filters without disrupting focus, composition, or moving the other filters. The WCC holder system allows for iterative changes so you can easily perfect your final image in-camera. This is one of many crucial differences between shooting with the WCC system and other systems. So going forward we’re going to focus on iterative workflow to reach a higher level with our photography.
Step 1: Dial in the Polarizer
The first step is to determine if we want to use a polarizer and then adjust or remove it. With the WCC system you can install or remove the polarizer without disrupting your critical focus or framing. So let’s determine now if we want to use it or remove it.
Here are a few scenarios where you should consider deploying a polarizer:
- Darkening the sky to balance the luminosity of the sky against the terrain below.
- Increasing the contrast between clouds and blue sky.
- Removing haze.
- Removing reflections from foliage, water or windows.
The “right” way to adjust a polarizer is to simply look through the lens and rotate the polarizer until it’s providing the results you desire.
For your polarizer to perform, the sun needs to be at some angle perpendicular to the lens. If the light rays are traveling the same direction as the lens, the effect of the polarizer will be minimal. For example, if the sun is rising directly behind the camera, the polarizer has very little or nothing in the sky to polarize. In those instances, you’ll need to use a grad filter to darken the sky. Of course, you can use both a polarizer and a grad if needed.
If the polarizer isn’t working, you can remove it to have one less piece of glass in front of the lens.

The sun is perpendicular to the lens and low in the sky as it lights the Teton Range. This image needs a polarizer.

A single polarizer is performing three functions here: darkening the sky, removing haze, and removing glare from the water in the forground.
Step 2: Dial in your Grad Filter
Aperture adjustments in the human eye happen so rapidly that you don’t really notice how much brighter the sky is compared to the terrain. Your camera on the other hand lays bare the difference in luminosity for all to see. Fire a test shot and then do "the squint test" while looking at your camera's rear screen. You'll notice how much brighter the sky is compared to the terrain. To compensate for this, use a graduated ND filter to balance the luminosity of the sky to the terrain.
Grads are actually pretty easy to use, but here are a few tips for you:
- 2-stop grads are usually the “sweet spot” for density. If you use a 2-stop grad correctly, people who are viewing your image probably will not realize you’re using a grad.
- 3-stop grads are stronger and a little more dramatic. Used correctly your images will take on a strong sense of drama. Used incorrectly … everyone will know you used a grad. So use them deliberately and precisely. The push button adjustment of the Wine Country Camera holder system will really help here.
- Soft edge grads work everywhere, all the time. The soft transition is easily hidden, even if the horizon has jagged mountains or buildings.
- Hard edge grads are best used when the horizon is flat and defined, such as when photographing the sea.
- If you can only carry one ND grad, choose a 2-stop soft edge.

Test exposures reveal a sky that is far brighter than the terrain. Because the sun is rising directly behind the camera, a polarizer will not work here. This image needs a grad filter.
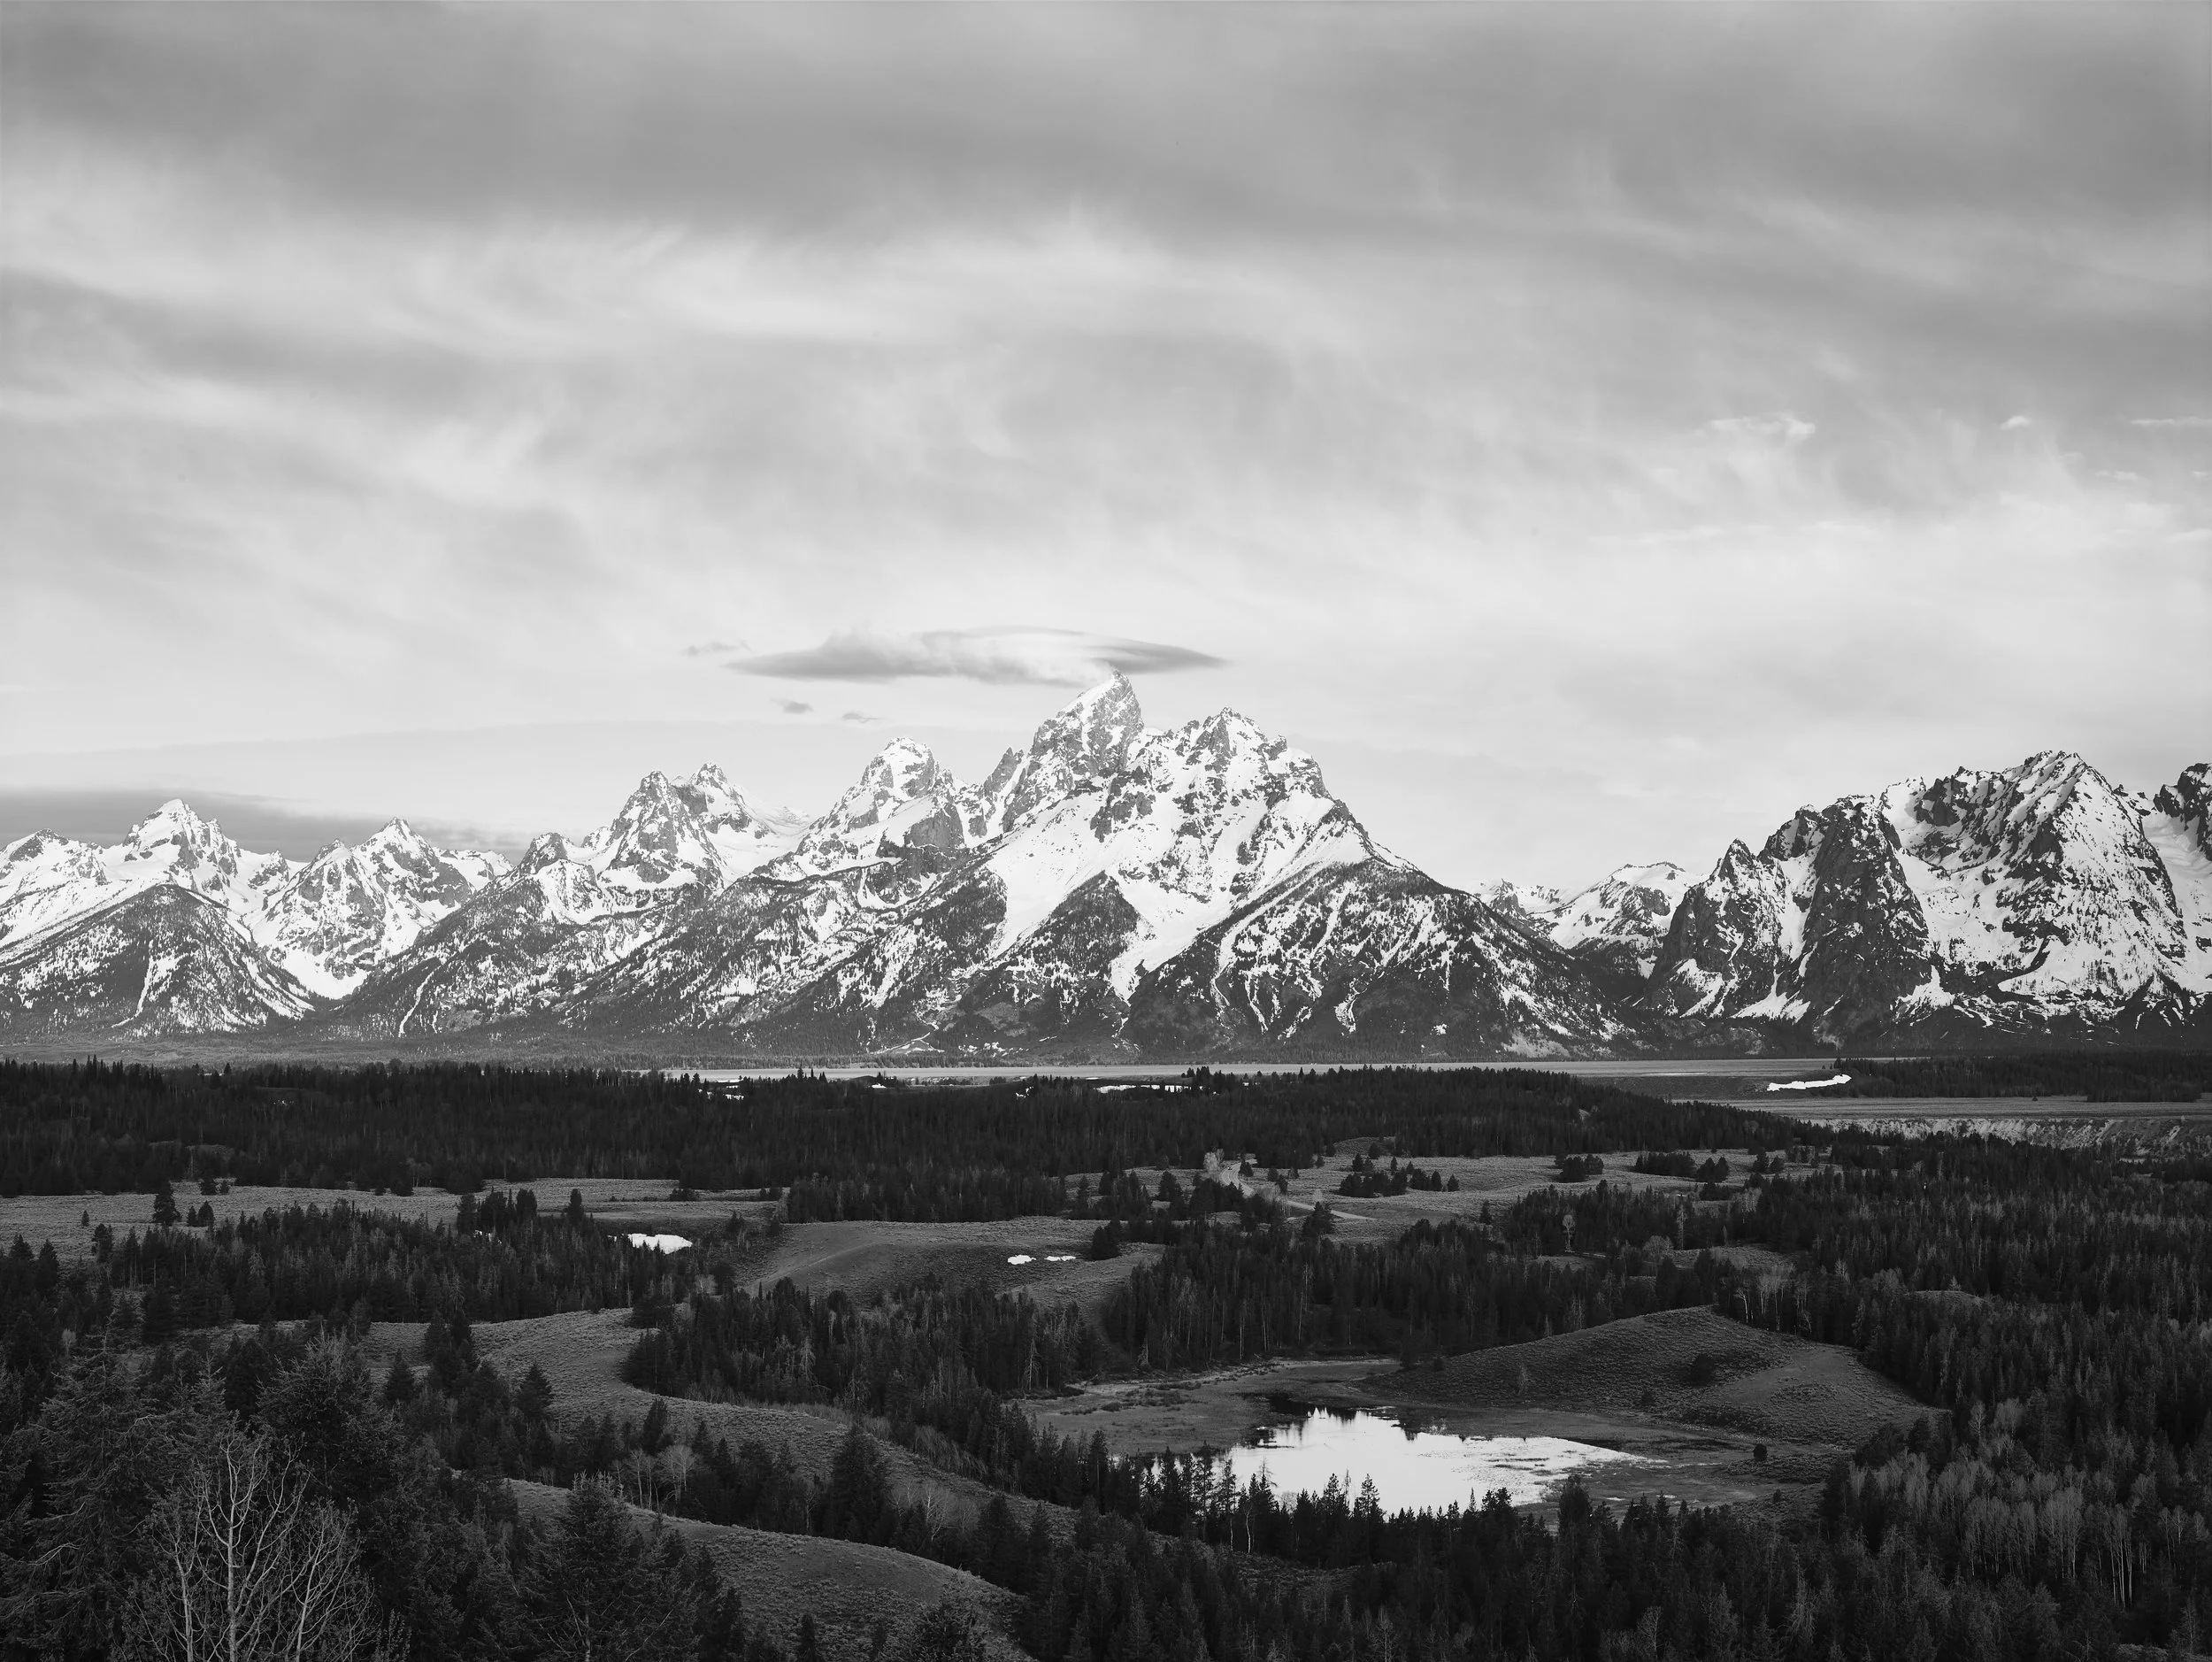
Even after being converted to black & white with some light post-processing, this image still fails "the squint test." This image needs a grad filter.

The 3-stop ND filter balances the luminosity of the sky to the terrain almost perfectly and draws the viewer's eye to the mountain range.
Step 3: Use the ND as a special effect
For landscape photography, the ND really only performs one function - extending exposure time. Yes, you can use it to adjust aperture - but our primary focus here is exposure time.
At this point, you should be happy with your image composition, and your polarizer and grad filters should be adjusted exactly as you want them so that your test exposures are very close to the finished composition you’re trying to achieve. At this point, you are satisfied with the gestalt of the image.
Add ND filters if you want to create the following visual effects:
- Turn water into an ethereal mist
- Turn clouds into streaks, giving them a sense of motion
- Turn people into blurs, or remove them completely from the scene.
Before using a dark ND, remember the following things:
- Your autofocus will not work through a dark ND, so set it manually now.
- Try shooting with auto and manual white balance. Use whichever method seems best.
- Your light meter probably won’t work through the ND, so switch to manual.
- Do the exposure calculations in your head, it’s good for your brain to be active. 10 stops = 10 fingers.

At 1/640 second the water in this image is distracting and inelegant.

With 10 stops of ND, this 8 second exposure has desirable movement in both the Snake River and in the clouds over the Grand Teton.
In Conclusion
Making filter choices for landscape photographers is really easy and straightforward if you think about the choices you're making as workflow toward achieving a final result.
- Create test exposures until you're happy with your composition.
- Adjust your polarizer to enhance the sky and remove reflections.
- Balance the brightness of the sky to the terrain using a grad filter.
- Set your desired aperture and note the exposure duration.
- Switch the camera to manual exposure mode.
- Determine the desired exposure time and add the ND.
Remember, the Wine Country Camera filter holder system is the only holder system in the world that allows you to remove the ND between exposures without disrupting critical focus, framing, or moving the grad filter. This allows you to make small changes to your final image while shooting and is crucial in your workflow. It's a great feature, please take advantage of it!
Hope this guide helps. Have fun out there.
Shoot First, Drink Later.

Shop Now
for the most advanced filter holder system available.